Pages

Friday, October 7, 2011

Adventures in Baking: White Chocolate Raspberry Cheesecake


    Lisa's Dinnertime Dish has moved.  Please visit me at my new and improved blog site!  The new address is http://lisasdinnertimedish.com.  I look forward to seeing you at the new site!!


     I am very excited about today's post, but there has been some adventure along the way (I will get to that later).  The reason I'm excited is because...well...it's about cheesecake!  I love cheesecake!!  The other thing that is exciting for me is that I was able to use eggs that came straight from the farm.  I know for some of you that may not be a big deal, but my eggs always come to me from the grocery store, with no idea of where they actually came from.

     So...you may be wondering how I happened upon these truly farm fresh eggs.  Here's the story...stay with me.  My daughter, Kelly, has a boyfriend, Graham.  Graham's grandparents have a farm in Wisconsin and last weekend, he and Kelly went to visit them.  His grandma has chickens and they also have miniature ponies, along with giant Clydesdales, a peacock, their own rooster and a neighbor's rooster that they are fostering (and apparently roosters are territorial and they weren't playing nice).  So visiting the farm is quite an adventure for Kelly, who is very much a "city girl".  On this visit, Graham's grandma was kind enough to send home a dozen of her straight from the chicken, eggs.

My truly farm fresh eggs.  Don't worry, I washed them before I used them!

     Now...back to cheesecake.  This is where the adventure comes in.  First of all, let me just say, before you make something, make sure you have carefully read the recipe, including the amount of each ingredient needed.  Let's just say I didn't do that, on two counts.  My first mistake was that I changed the crust and didn't do a very good job of calculating what amount of chocolate cookies I would need in place of the graham crackers and almonds that were in the original.  So when I put the crust mixture into the pan, I quickly realized I didn't have enough.....So I had to grind up more cookies and mix in, crisis averted.

     My second mistake was that I only had half as much white chocolate as I needed.  The only thing I could do about that was to make the cheesecake with half as much white chocolate.  I think it will be fine, but I definitely recommend putting in the full 8 ounces of white chocolate.

     My third mistake was, I didn't bake it quite long enough.  At 38 minutes, it really looked like it was done, so I took it out because I didn't want it to get dry.  Well, when I cut into it I discovered it was a little too soft in the center.  But the good news is, it still tastes great!

     Finally, before I get to the recipe, if you're going to try this, PLEASE learn from my mistakes and it will turn out perfectly for you !!
    
White Chocolate Raspberry Cheesecake
Adapted from the Food Network


  • 3 cups chocolate sandwich cookies
  • 1/2 stick unsalted butter, melted
  • 8 oz white chocolate
  • 4 -8oz packages cream cheese, softened (I used 2 regular and 2 reduced fat)
  • 1/2 cup plus 2 tbsp sugar
  • 4 whole large eggs
  • 2 large egg yolks
  • 2 tbsp all-purpose flour
  • 1 tsp vanilla
  • 2 cups raspberries (I used a 12 oz bag of frozen)


Make crust:  Place cookies in a food processor and pulse until finely ground.  Then add butter and blend until combined.


Place in a 10-inch springform pan and press over the bottom and part-way up the side of the pan.


Make filling:  Preheat oven to 350 degrees.
Melt chocolate in a double boiler or a bowl set over a pan of barely simmering water, stirring until smooth, and remove from heat.


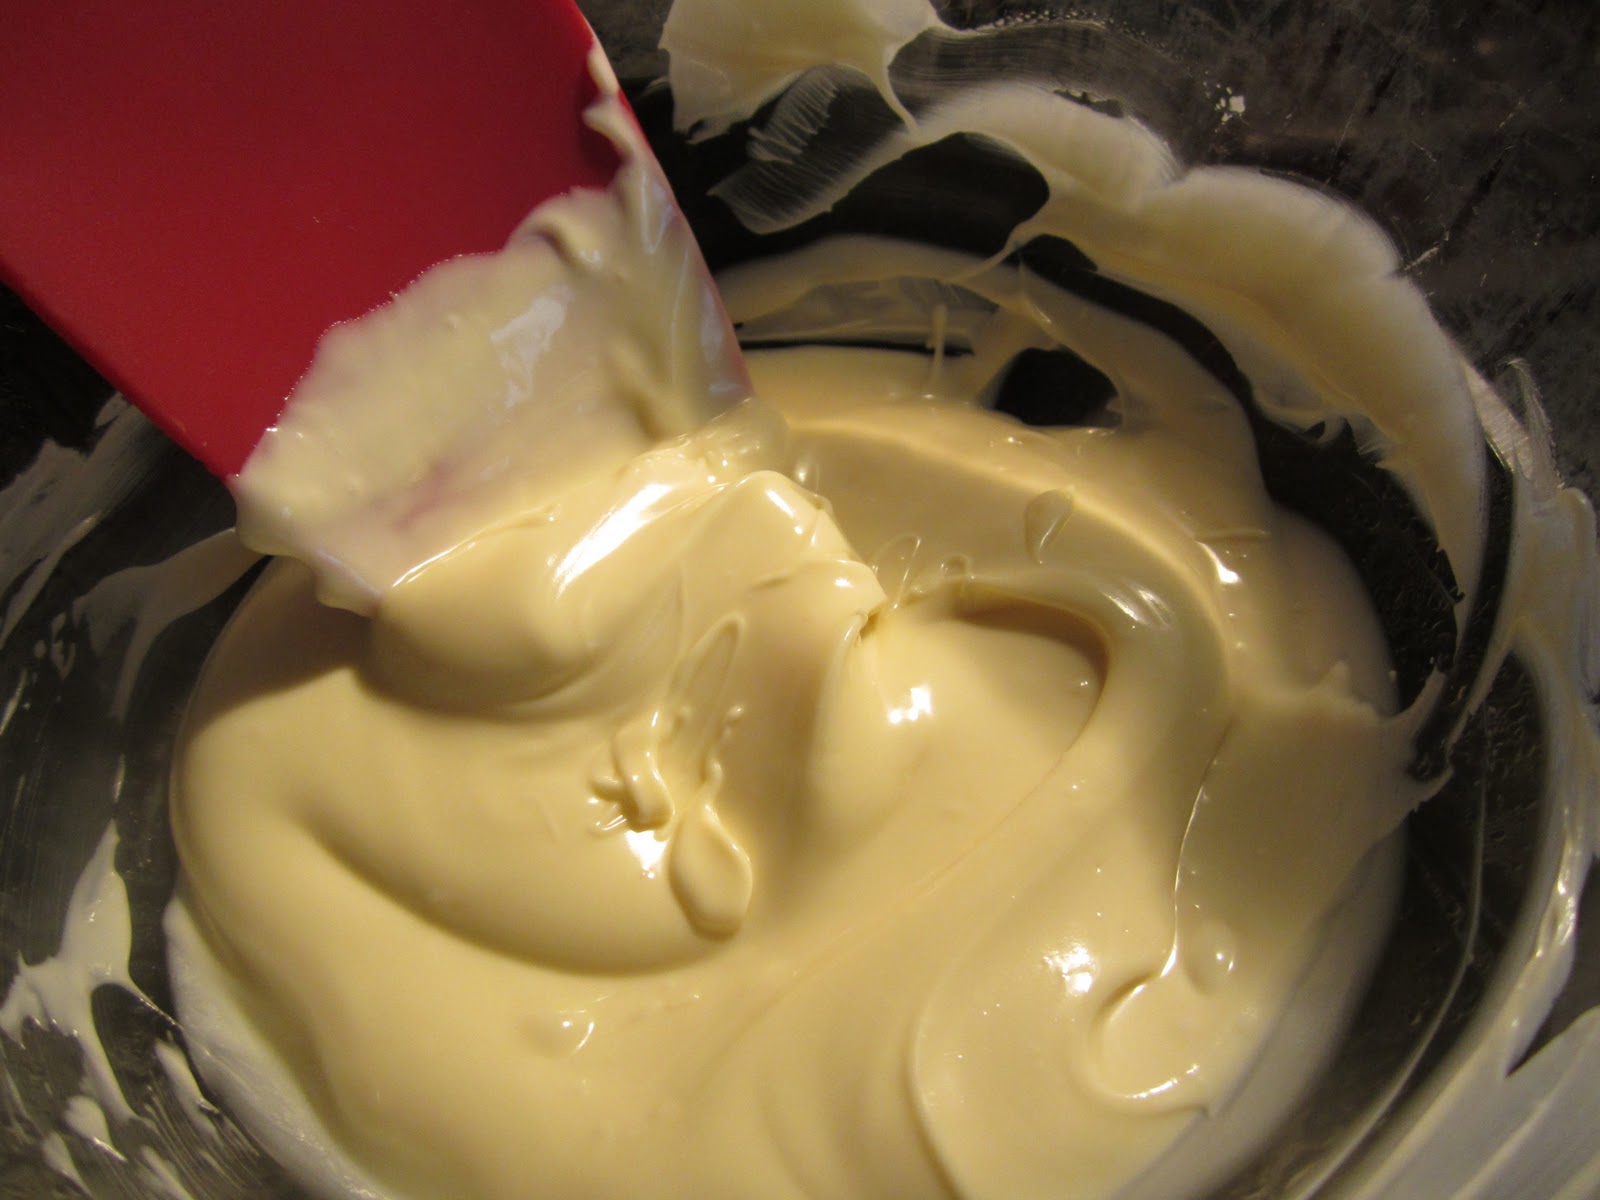

Beat cream cheese with an electric mixer at medium speed until fluffy.


Add sugar and beat in.


Add whole eggs and yolks, 1 at a time, beating well at low speed and scraping down the bowl after each addition.


Beat in the flour and vanilla until just combined.


Add melted chocolate beating until well combined.


If using frozen raspberries, make sure they are well drained.  Arrange berries in 1 layer over crust and pour filling into crust.


Place pan on a cookie sheet and bake in the middle of the oven until cake is set 3 inches from edge but center is still wobbly when pan is gently shaken, 45-55 minutes.


Run a thin knife around the edge of cake to loosen, then coll completely in pan on a rack (cake will continue to set as it cools.  Serve at room temperature or chilled
May be made 3 days ahead and chilled, covered

ENJOY!

Thursday, October 6, 2011

Open Face Bacon Cheeseburger Meatloaf Sandwiches, A Little Bit of Nostalgia

    Lisa's Dinnertime Dish has moved.  Please visit me at my new and improved blog site!  The new address is http://lisasdinnertimedish.com.  I look forward to seeing you at the new site!!  


      Sometimes I think it's fun to go back and revisit old recipes and put a modern spin on them.  A few weeks ago, I was talking to my mom and she reminded me of a recipe for these hot, open face sandwiches that I had made in home-ec class, years ago (never mind how many!).  I had a vague recollection of it and so I was interested in seeing the recipe.  She thought she still had the recipe somewhere, so she went digging for it, found it and e-mailed it to me. 

     When I saw the recipe, I thought it had potential.  But the first thing to go was the name, "Open Face Hot Buns (HB and Cheese)".   I mean, what the heck is that?!  The original sandwiches were made with hamburger and Velveeta cheese that was bound together with soda crackers, eggs and milk.  So it's very similar to meatloaf.  I thought calling them some kind of meatloaf sandwich was a more accurate description of what they were. I also swapped out the Velveeta for reduced fat sharp cheddar cheese and replaced the soda crackers with Italian seasoned panko bread crumbs.  And, since everything is better with bacon, I added some cooked and crumbled bacon.  Finally, I used English muffins instead of hamburger buns, but I do think hamburger buns would also be fine.

     What I love about this recipe is that it is fast and easy.  It is great for a quick dinner during the week and I think it would be equally great for casual entertaining, especially if you had a lot of people to feed.  The other nice thing about these is that you can make them up ahead of time and freeze them, uncooked on a cookie sheet.  Once they're frozen put them in a freezer bag and they are ready to cook whenever you need them.  You would just need to add about 5 to 10 minutes of cooking time.

     So, without further ado, here is my updated version of my high school recipe.


Open Face Bacon Cheeseburger Meatloaf Sandwiches


  • 3 slices bacon, chopped
  • 1 small onion
  • 2/3 cup milk
  • 1 1/2 lbs ground beef (I used 90% lean)
  • 1/2 cup Italian seasoned panko bread crumbs
  • 2 eggs
  • 1 tsp dry mustard
  • 1/2 tsp salt
  • 1/2 tsp pepper
  • 1 tsp Worcestershire sauce
  • 2 cups shredded sharp cheddar cheese (I used reduced fat)
  • 12 English muffins (or whatever kind of bun you like)


Preheat oven to 350 degrees.
Finely chop onion.


Heat a medium skillet over medium heat and add bacon.


Once bacon is starting to brown, add onion to the pan.


Cook until the bacon is crispy.  Remove from pan and drain on paper towels and allow to cool slightly.


Add all of the ingredients to a large mixing bowl, except for the English muffins.


Mix ingredients together, combining well (your hands work great for this).


Split the English muffins into halves and place the halves on large cookie sheets.  Divide the meet mixture up between the muffin halves, about 1/4 cup on each.


Bake in preheated oven for 20 minutes.
Serve immediately.  Can serve with ketchup, brown mustard and/or barbecue sauce for dipping.

ENJOY!


Shared at Recipes For My Boys on 10/7/11
Shared at Everyday Mom's Meals on 10/9/11

Wednesday, October 5, 2011

Quick Sauteed Chicken Breasts, So Good You Can Entertain with Them

       Lisa's Dinnertime Dish has moved.  Please visit me at my new and improved blog site!  The new address is http://lisasdinnertimedish.com.  I look forward to seeing you at the new site!!


      The other night, I was having a complete roadblock when it came to dinner.  I was not inspired to make anything.  I looked through my pantry and my refrigerator to see what I had on hand (I REALLY didn't want to run to the grocery store!) and still I was coming up with nothing.  So I tried to think about what it was that I was hungry for and I looked through my pantry and refrigerator again.  Finally it came to me...chicken....and then the wheels started to spin.

     What I ended up doing was pounding out the chicken, so it would cook up super fast, dredged it in some flour and sauteed it in some olive oil.  Then, I made a quick pan sauce with white wine, chicken stock, lemon and butter to spoon over the top.  I paired it up with an equally quick pasta side dish and some steamed broccoli and dinner was on the table!

    It turned out to be delicious.  In fact, I think this chicken is good enough to entertain with because for one, it was really good.  It also would be very easy to have this all prepped, so that when your guests arrive, all you have to do is saute the chicken and make the sauce.


Sauteed Chicken Breasts with Lemon Butter Pan Sauce


  • 4 boneless chicken breasts
  • 1/2 cup flour
  • 2 tbsp olive oil
  • 1/4 cup white wine
  • 1/3 cup chicken stock
  • juice from one lemon
  • 2 tbsp butter
  • salt and pepper
  • 2 tbsp parsley, finely chopped

Put the chicken in a gallon size ziplog bag and pound it out until it is about 1/2 inch thick.


Put flour on a plate or in a shallow dish (I just used a paper plate) and season with salt and pepper.


Coat the chicken with the flour mixture.
Heat a large skillet over medium high heat and add olive oil.


Once oil is hot, add chicken to the pan.


Saute chicken for 4 minutes and then turn over and cook for an additional 4 minutes.


Remove chicken from pan and cover with foil to keep warm.  Add wine to the pan and let it cook for a couple of minutes until it reduces slightly.


Add chicken broth.


Stir to incorporate and let it reduce slightly.  Then add lemon juice.


Stir in butter until melted.


Finally, stir in parlsey, salt and pepper.


Place chicken on a serving platter or individual plates and spoon sauce over the top.

ENJOY!

Tuesday, October 4, 2011

Shepherds Pie, Comfort Food at its Best

       Lisa's Dinnertime Dish has moved.  Please visit me at my new and improved blog site!  The new address is http://lisasdinnertimedish.com.  I look forward to seeing you at the new site!!


     I have not tried my hand at shepherds pie before, but for some reason, I thought I needed to give it a shot....I don't know why.  Maybe it's because of the fall weather and feeling the need for heartier food.  Maybe it's because the idea of a stew type thing covered in mashed potatoes just sounds yummy.  I really don't know.  But I did some research and I came up with a plan.

     As far as mashed potatoes go, I knew I wanted to use garlic mashed potatoes because the recipe I have  is SO good!  I also wanted to use red wine in the sauce because I thought it would give it a nice depth of flavor.  As far as vegetables go, I knew it should have carrots, celery and onion and then I thought mushrooms and peas would be awfully nice. That was my plan.

     This recipe is a little time consuming, but worth it because it turned out to be very good.  If you would like to try this but you want it to come together more quickly there are a couple of shortcuts you could take.  Instead of making homemade mashed potatoes, you could use instant or refrigerated.  If you don't want to spend time chopping vegetables, find a mix of frozen veggies that sound good to you and use that.  If you don't mind taking the time to make the recipe as written, you should know that making a double batch would not take much more effort and then you could have one pan now and freeze the other for later.


Shepherds Pie with Garlic Mashed Potatoes

  • 3 tbsp butter
  • 2 lbs hamburger (I use 90% lean)
  • 2 carrots, sliced
  • 2 ribs celery, sliced
  • 1 medium onion, chopped
  • 8 oz cremini mushrooms, sliced
  • 3 tbsp flour
  • 1 cup red wine
  • 1 1/2 cup beef broth
  • 1 cup frozen peas, thawed
  • 1/4 cup fresh parsley, finely chopped
  • 4 cups mashed potatoes (see recipe below for garlic mashed potatoes)


Get all of your veggies chopped and ready to go.


Heat a large skillet over medium high heat.  Add butter, once butter is melted, add ground beef and break up with a spoon. Once the meat is broken up and starting to brown, add the carrots, celery, onion and mushrooms.  Add a sprinkle of salt and pepper and continue cooking for about 5 minutes.


Sprinkle flour over the top of the meat and vegetables.  Mix in well and cook for a couple of minutes.  Stir in wine.


Bring mixture to a boil and then stir in beef broth.


Let mixture simmer, uncovered for about 15 to 20 minutes.  This will allow the sauce to reduce and the flavors to blend.  Add more salt and pepper if necessary.


Stir in peas and parsley and pour mixture into a 9x13 baking dish that's been coated with cooking spray.


Spread mashed potatoes over the top of meat mixture.


Bake at 350 degrees for 30 minutes until brown and bubbly.


Garlic Mashed Potatoes
  • 1 head of garlic
  • olive oil for drizzling
  • 4 lbs russet potatoes
  • 1 1/2 cups milk
  • 1 stick of butter, melted
  • salt and pepper


Take the head of garlic and cut the top off.


Put on a sheet of foil and drizzle with oil.


Wrap in the foil and place in a 350 degree oven for about an hour, until the garlic is very tender and soft.


Squeeze the garlic out of the skins into a bowl and mash with the back of a fork.


Add garlic, along with the milk to a pot and simmer for 10 minutes, to infuse the flavor.
Then, pour mixture through a strainer into a bowl to remove garlic.


Peel potatoes and quarter lengthwise.


Place the potatoes in a large pot and cover with cold water.


Bring the water to a boil, then reduce the heat to a simmer. Cook until the potatoes are tender when pierced with a fork.  Drain.


Rice the potatoes into a bowl (or you can mash them with a masher). 


Stir in the butter, salt and pepper.


Stir in the milk, a little at a time, until the potatoes are smooth.


ENJOY!


Shared at Mandy's Recipe Box on 11/28/11
Shared at Family Fresh Meals on 12/11/11